Deployment
Users can navigate directly to the Deploy Agents page to access a script that can be deployed on a host-by-host basis or deployed to multiple hosts via a preferred remote monitoring and management tool.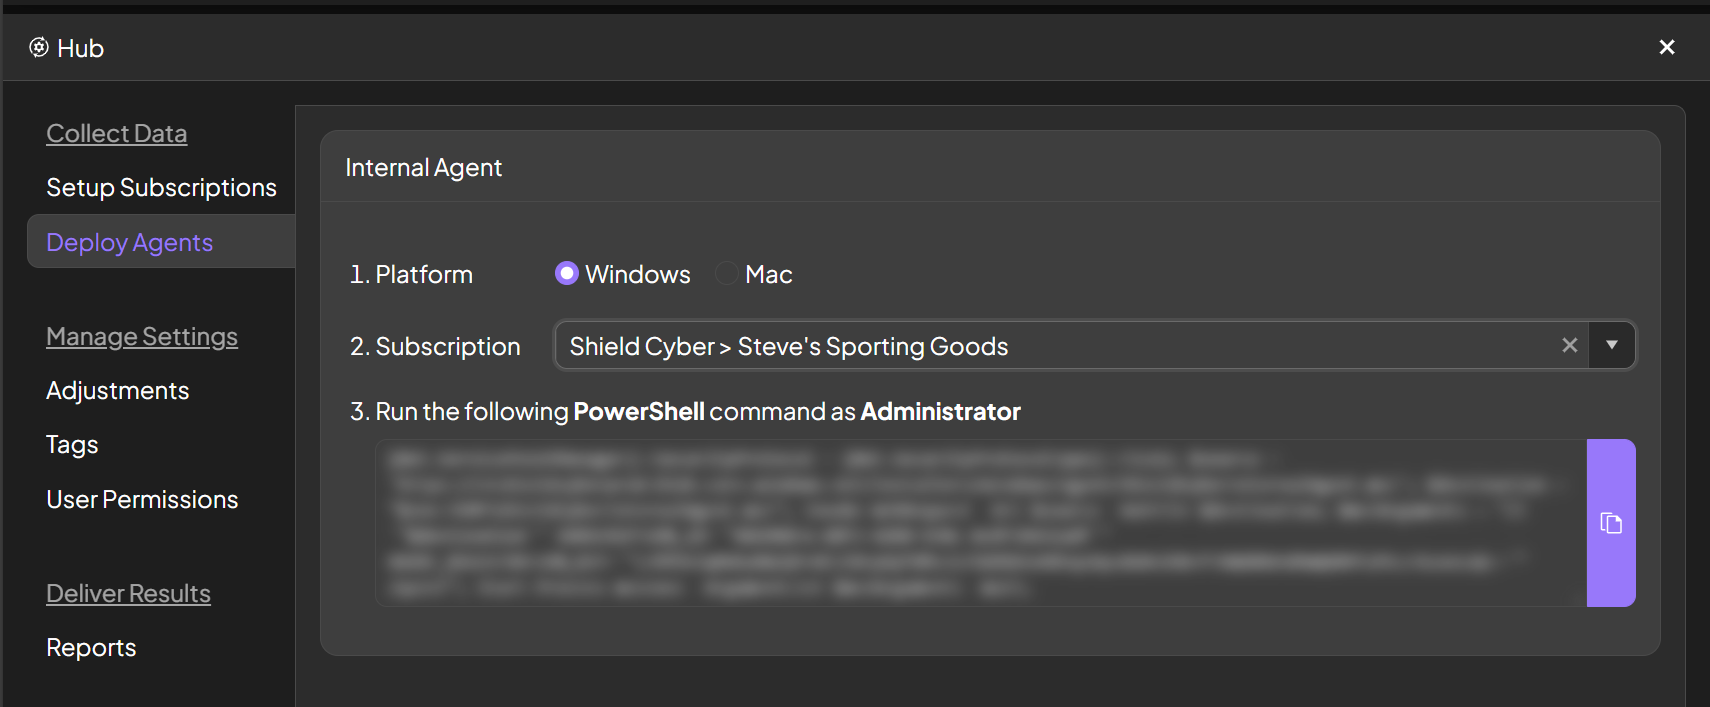
Once the agents have been deployed, it may take up to five (5) minutes for each agent to complete the registration process and call back to the Shield platform.
Results
Once the agents can be seen in the platform within the Assets page, vulnerabilities will generally be available within five minutes throughout the platform.Additional Deployment Methods
Deploy Shield via Microsoft InTune
To deploy the Shield Internal Agent via InTune, users can leverage InTune’s PowerShell scripting feature.1
Navigate to Intune
Navigate to https://intune.microsoft.com to access the Intune platform.
2
Access the device scripting and remediations section within Intune
Navigate to the devices module that on the left-side pane, then access the Scripts and remediations function, and access the Platform scripts tab.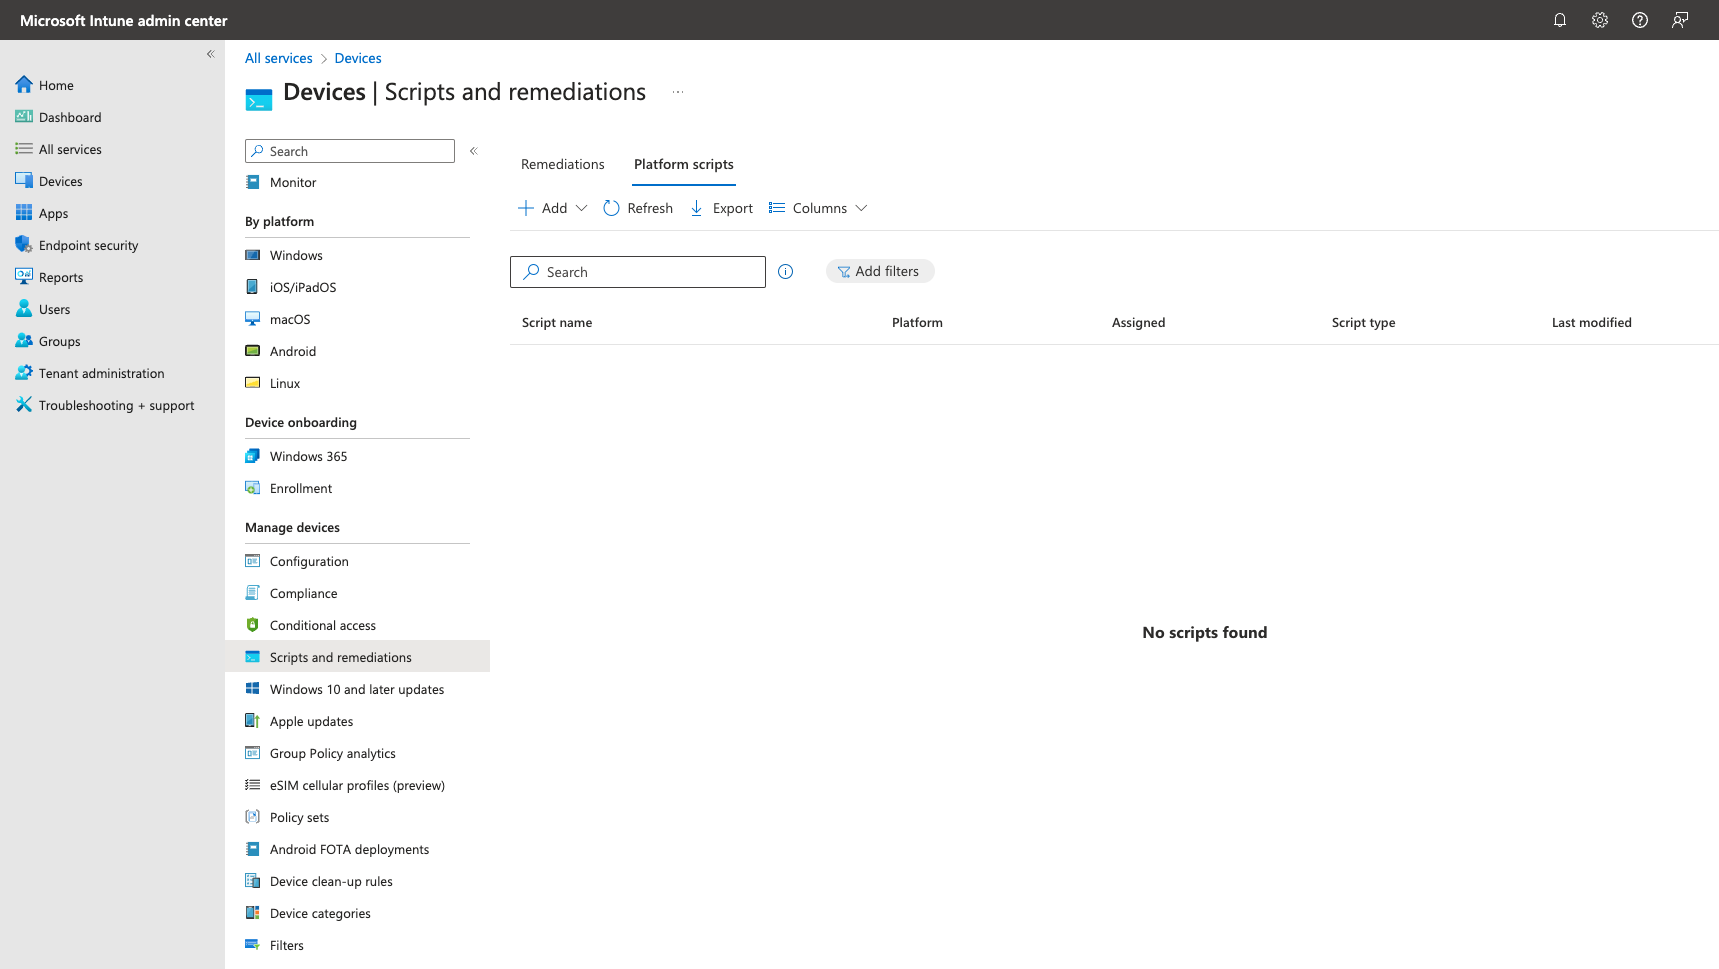
3
Navigate to the Shield platform & Agent deployment feature
Navigate to the Shield platform, select the subscription you are looking to deploy from and copy the generated PowerShell script to a .ps1 file.
4
Create Intune PowerShell Script
Select Add from the Intune Platform Scripts section and select Windows 10 and later option. Name the script, add a description, and select Next.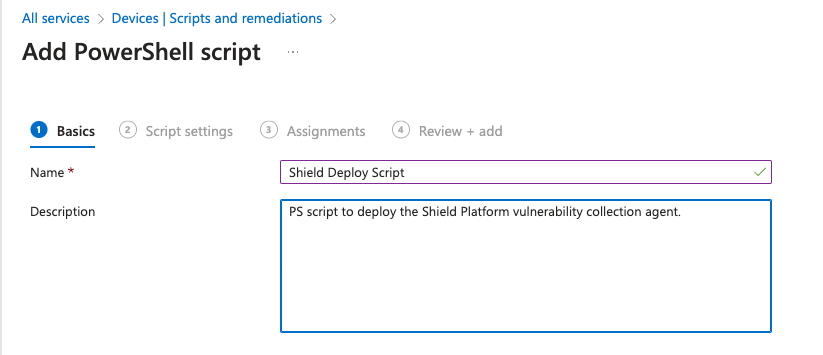
5
Set scope for devices configured within Intune, Review, & finish
Select the desired group and/or devices that you would like to deploy the Shield Internal Agent to and select Next. Review all options and then click Add to your Intune PowerShell scripts.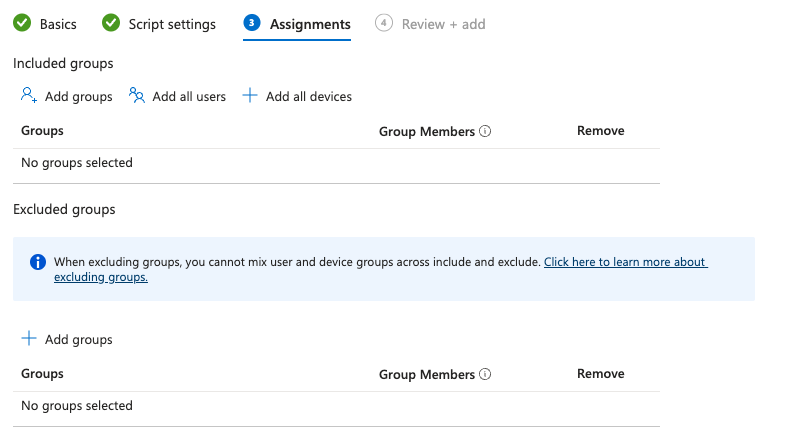
Deploy Shield via GPO
This deployment method should be utilized to understand how to deploy the Shield Internal Agent (via MSI) on multiple machines through Group Policy in Windows 2016 environments
- Per-User: If it is assigned on a per-user basis, then it will be installed when the user logs on.
- Per-Machine: If is assigned on a per-machine basis, then it will be installed when the machine starts.
1
Create a distribution point
- Log onto the server as an Administrator
- Create a shared network folder (which will contain the MSI)
- Set permission on this folder to allow access to the distribution package
- Copy the Shield Cyber Internal Agent MSI (linked here) in the shared folder
2
Create a batch script to run the MSI
- Copy the following command and insert your subscription ID and agent registration key to a file and name it ShieldCyberInternalAgent.bat
- Save the file and insert this into the shared distribution point
3
Create a Group Policy Object
- Click on the Start button and open Go to Start and open Group Policy Management
- Expand Forest (your forest) > Domains (your domain)
- Right-click on Group Policy Objects and select New -Enter a name for your policy and leave Source Starter GPO as (none)
4
Configure the Startup Script in GPO
- Double click on your previously created policy
- In the right panel click on the Settings Tab
- You should see Computer Configuration and User Configuration, right-click anywhere in the panel and select Edit
- Expand Computer Configuration > Windows Settings and double click on Scripts
- Right click on Startup and select Properties
- Click Add and select the batch file that you created within the shared location.
- Click Apply and OK to save the GPO to run the script the next time the machine is restarted.